Light control fabrics
An introductory textiles tutorial. Every group is described in an individual chapter focused on its main features and typical uses.
Overview
What are textiles, how to use them and why?
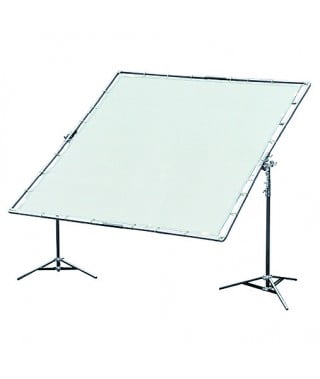
Lighting textiles, often referred to as rags, are ready-made pieces of fabric meant to be mounted on a frame. When you shine a light through or on them, they change its characteristics such as intensity, warmth or beam width. Every textile has a very specific application and falls into either (sometimes more than one) of those categories:
- diffusion (transmitting light),
- reducer (absorbing)
- reflector (reflecting)
It is hard to list all possible uses for the fabrics, but you will find some textile-specific tips in further chapters and most definitely gain knowledge and experience as you work with them.
To be fully prepared for lighting a film or photo set you should have at least one textile of each category in your kit. Of course it is up to you and the kind of shooting you are doing, but you can’t go wrong having a spare reflector or diffusion.
There are plenty of textile manufacturers on the market and it is important to know there are some industry standards, such as size. E.g., you will most definitely find yourself working with a 12′ x 12′ frame, so it is good to rags of such dimensions. Another parameter is light reducing factor, described in stops. Always choose good quality products to be sure they will match their stoppage description and be easy and predictable to work with.
Diffusions
Diffusions are the most common light control fabrics. Used in a lot of situations, at any film set.
Effects
Diffusion fabrics soften the light and make your object look much smoother. They will help you get rid of unwanted texture like wrinkles on a face, reduce harsh highlights, etc. Another application is softening and reducing shadows.
Second effect is light spread. Any beam will become wider when shot through a diffusion. This can be used for example when filming people – to make the eye light bigger.
Last effect is reducing the light’s output. In many cases this will be a negative thing, so keep in mind you may have to compensate with your light source.
Types
They differ by the light temperature, material they are made of (silks, grids, etc.), other light characteristics like bounce. Most importantly though, they have different stoppage – light loss parameter traditionally described in stops.
Decreasing stops mean reducing the light intensity.:
– 1 stop means you will have half the original amount of light
– 0.5 stop will only give you about 25% reduction.
Techniques
If you want to increase the level of diffusion – try using multiple layers of material or have the textile farther away from the light source, or bring the fabric closer to the filmed object. Opposite will give you lighter diffusion.
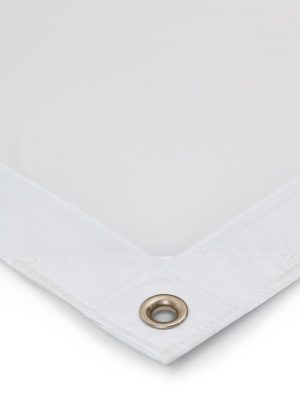
Below you will find a table presenting the range of diffusions we have in our offer, along with their characteristics.
| Artificial White Silk Full | 1.8 stops | Diffuses and spreads the light over the material, reducing any hot spots. Very soft effect. |
| China White Silk Half | 1 stop | A soft translucent diffusion. The white is similar to the natural and can be used in the same way. The great advantage of a half silk is that you can combine it with another soft source to have greater control over the diffusion density. |
| ¼ Stop Silk | 0.6 stop | Diffuses a light source with light transparency, whilst still retaining shadow detail. Ideal for controlling overhead sunlight. |
| Full Grid White | 2.6 stops | A very common grade of ripstop diffusion used simultaneously with brand diffusion such as Lee and Rosco filters. Full grid is quite a heavy diffusion that provides a soft glow light quality. |
| Half Grid White | 2 stops | A very common grade of ripstop diffusion used simultaneously with brand diffusion such as Lee and Rosco filters. |
| Quarter Grid White | 0.8 stop | A very common grade of ripstop diffusion used simultaneously with brand diffusion such as Lee and Rosco filters. |
Reductions
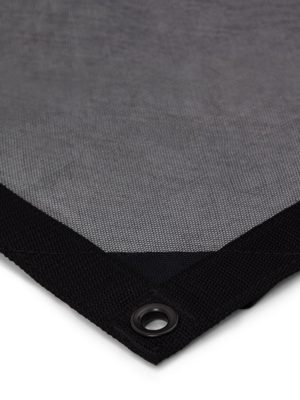
Reductions – nets – cut out some of the unwanted light from the subject.
Effects
Reductions primarily do the job of reducing the amount of light on the filmed object. Suitable especially for outdoor purposes, where you can’t control the light intensity itself or when using high power lights (HMI) without full control of intensity.
Types
Nets come in different densities, layers or even colours. Their blocking strength is measured in stops. Multiple layered rags can easily give more than 2.0 stops. Typically nets are black – not to change the colour temperature of the light. White nets can fall in the category of diffusions, as some of the light is bounced and therefore spreaded & softened.
Techniques
Apart from cutting the light from the subject, nets can be used for smoothing the background. Place your net behind the filmed object to avoid a lot of background light from the sky, clouds, etc. and make the object exposed. Use a larger net and place it farther if it becomes visible in the camera.
Reflectors/Bounces
Reflective rags that allow you to redirect the light in the setup.
Effects
Reflectors bounce the light so you can lit areas that would normally be inaccessible or get some very interesting lighting effects. They also change the light characteristics – usually soften it and depending on the fabric can give a warm or cold effect. The most typical use is creating a fill, but there are plenty of applications.
Types
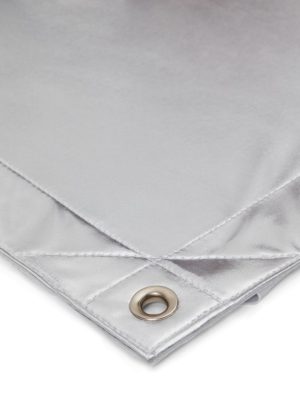
Reflectors will usually be either silver, gold, or a mix of those two. Matte finish significantly softens the light, while shiny can give a harsh light effect. White reflectors are often referred to as bounces.
Techniques
Using a shiny gold reflector you can acquire a faked sunset glow. To avoid dark areas under people’s eyes and chin, bounce light from below them. Ask your subject if they can see the light in the reflector. If yes – it works correctly. If you only have one light source – use multiple reflectors. Finally use a large rag on an overhead or butterfly frame and shine your light directly on it to make it look like a much bigger source.
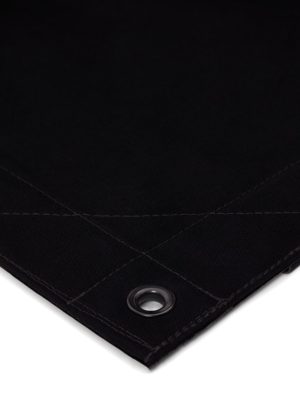
Black Flags
Block the light from falling on the subject.
Effects
Simple as it is, a black flag cuts the light – this way you can control unwanted spill. In some cases it may be used as a really heavy diffusion.
Techniques
You can get a cloudy sky effect by using an overhead with a black rag. Your object will be darkened, while rest of the scene behind remains lit. This way you will also emphasize the ambient light. Shine a light directly onto a flag, like you would do with a reflector to get it very deeply diffused.
Black flags are commonly used as negative fill.
Maintenace
First of all, be aware that the fabrics are often exposed to direct light and therefore high temperatures. It is your duty to ensure the ones you use are fire retardant or treat them using commonly available FR solutions. Unless it is a specified fire-proof material, check if the light burns your hand at a given distance. If not, it is safe to place a rag there.
When it comes to cleaning, use a sponge and mild detergent for light marks and a dry cleaner for heavier ones. Make sure they won’t damage the fabric. No matter how well you treat and store your textiles, they will loose their properties with time. Usually they should be replaced after some 5 years of use.